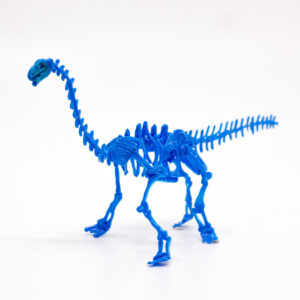
Spend a day at the museum learning all about dinos and where they came from. Then go home and doodle your own miniature versions! This is a great hands-on STEM activity for a summer day!
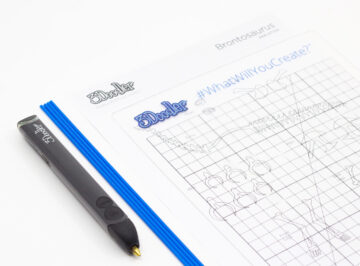
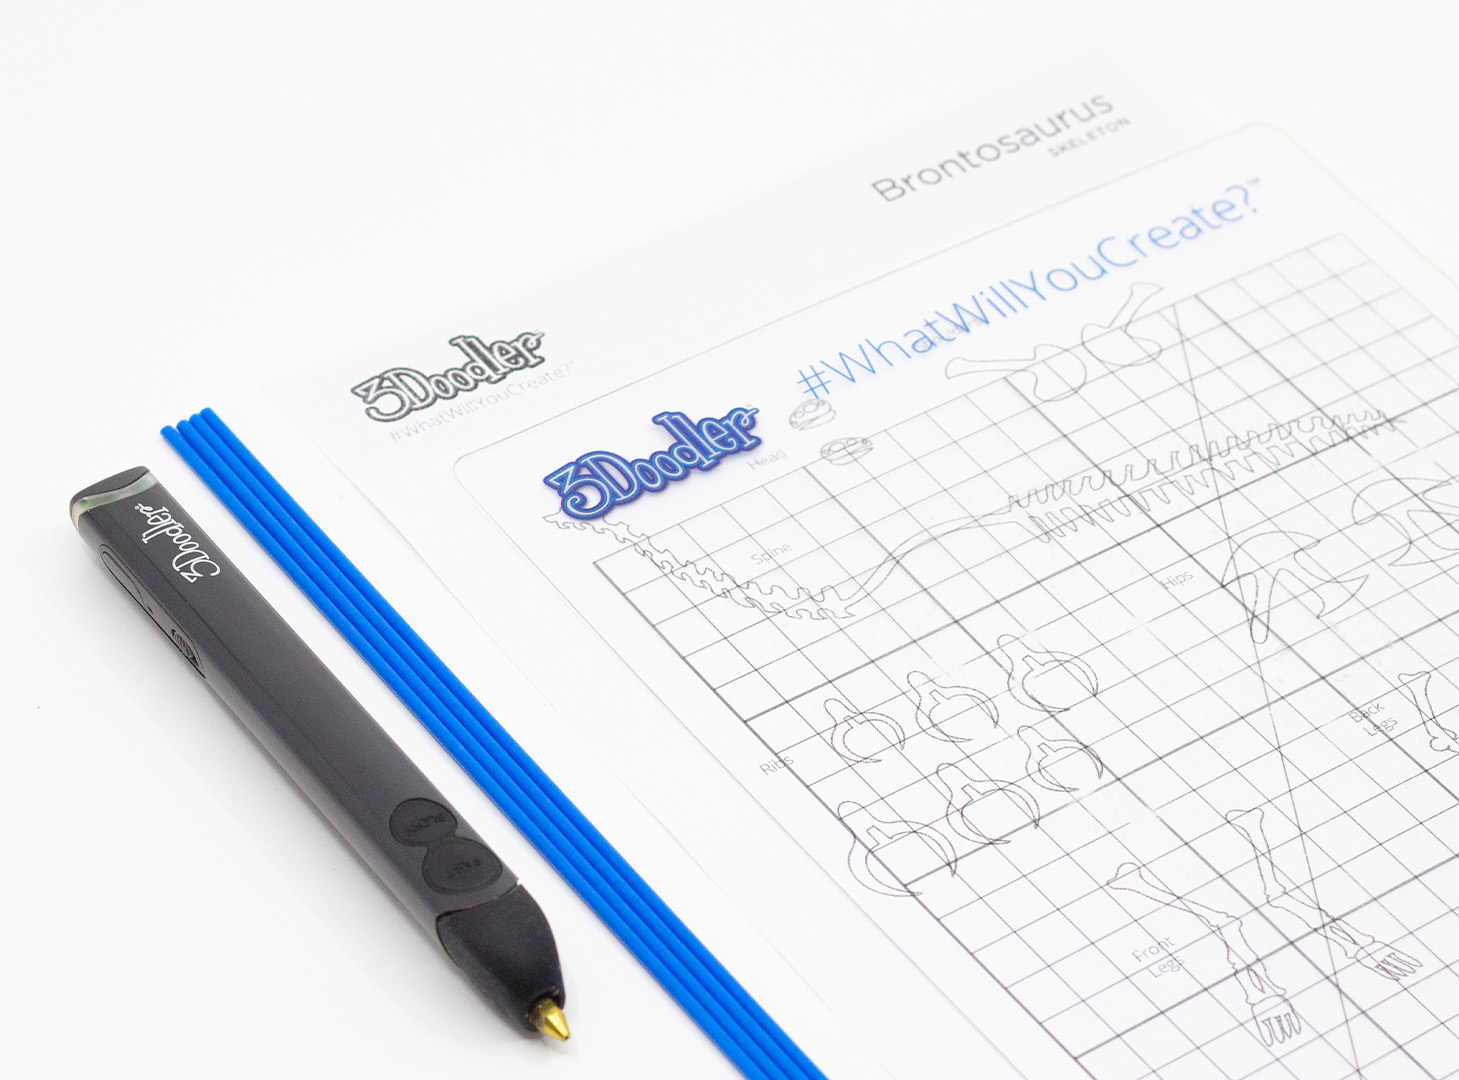
Gather together your 3Doodler, some filament, the free stencil, and a DoodlePad.
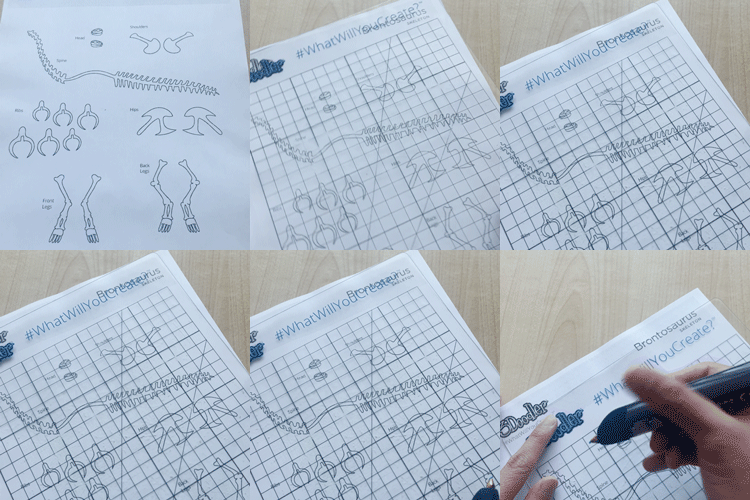
2. Trace out the Bones
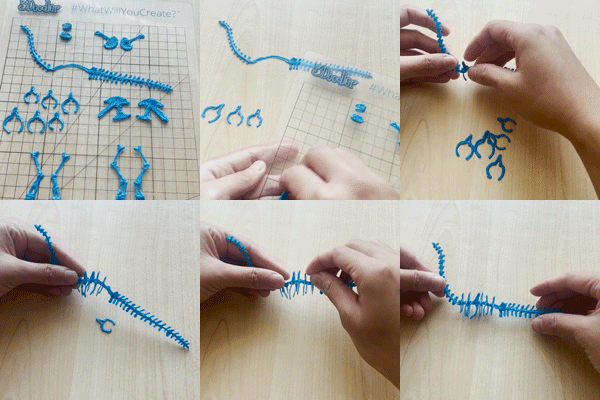
Using the stencil trace out all the bones you’ll need to construct your dino. Using a DoodlePad will help speed up your Doodle process as you can doodle all of the multiple quantities prior to peeling them off the DoodlePad before you construct the skeleton itself.
3. Assemble the Ribs
After all the bones are doodled it’s time to start constructing the body. We’ll start with the ribs. After removing the backbone start placing the ribs along the hump on the backbone. Add additional filament to the ribs to help them stick along the way.
4. Construct the hips and shoulders
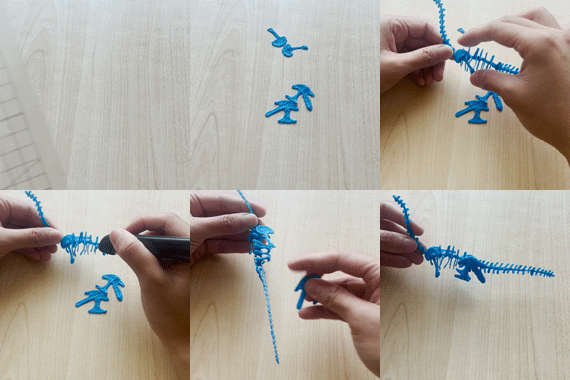
After the ribs are in place it’s time to work on the hips and shoulders. Using fresh filament stick them onto the backbone on either side of the ribs.
5. Add the legs
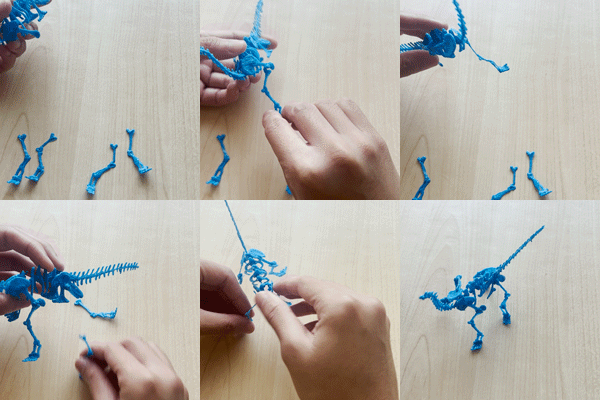
After having doodled both the front and back legs it’s time to get them ready to attach to the body. Go back over the legs to help reinforce any weak parts. After they are structurally sound, use fresh filament to attach them to the skeleton at the hips and shoulders respectively.
6. Final Step - attach the head
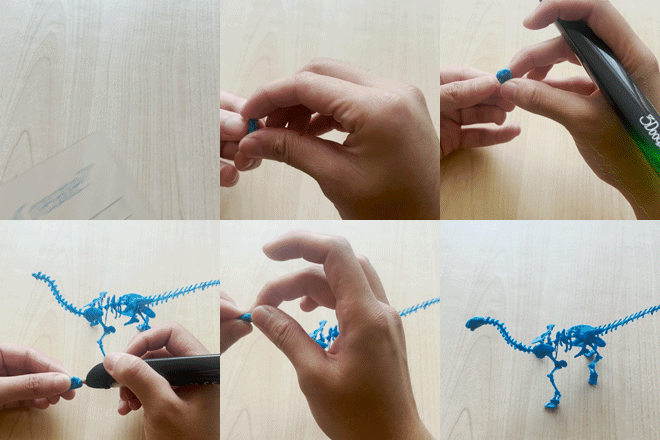
Peel both halves of the head off the DoodlePad. Then using fresh filament add both halves of the head together to create one complete head. Then with more filament attach it to the top of the neck. And you’re done!