
Select your Start+ pen #
Tap the image that matches your pen to view the correct Getting Started guide.
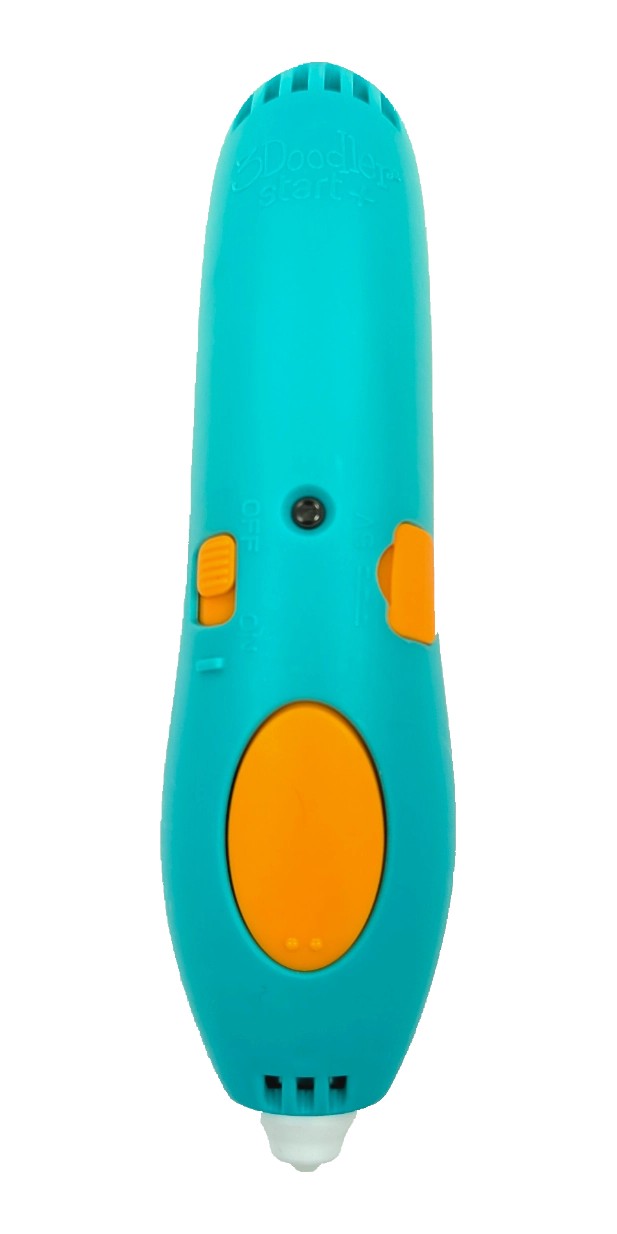 Charging port on the side
Getting Started with your 3Doodler Start+ #
Not sure where to begin with your new 3Doodler Start+ pen? You’ve come to the right place! Let’s get started with a few of the basics. We’ll help get you Doodling like a pro in no time.
Basics #

Micro USB Port #
Plug in and recharge quickly and easily.

On / Off Switch #
Slide this switch to turn it on. Allow 30 seconds for the pen to warm up. Out of power? Charge it up!

Insert a Strand #
Click to start, then insert the strand until you feel it grip.
The Buttons #

Click to Start, Click to Stop #
One single click is all it takes to get your 3Doodler Start+ feeding. When you need to stop, one click is all it takes to stop the flow of filament. When inserting a fresh strand, it can take 10–15 seconds to extrude from the nozzle.
Jammed Filament #
First try gently pushing your filament into the feed port to ensure it engages with the gears and gets gripped properly. If the strand inside the pen is not long enough to grip, use another filament strand to gently push the first strand down into the gear system.
Still Struggling? #
Don’t worry, our support team is here to help. Please reach out to us here and let us know what’s going on.
LED Status Lights #

The Three Colors #
Red means the 3Doodler is warming up, green indicates it’s ready to Doodle, and orange signals the pen is charging.
Doodling Tips #

Extruding Filament #
Our Eco-Filament extrudes from the nozzle and hardens in a few seconds, giving you time to shape your Doodles to perfection.

Anchoring #
If the filament won’t stick to paper, push the nozzle firmly onto the paper, let the filament extrude for a couple of seconds, then lift the nozzle. The downward pressure helps the filament stick. We call this anchoring.
Tips #


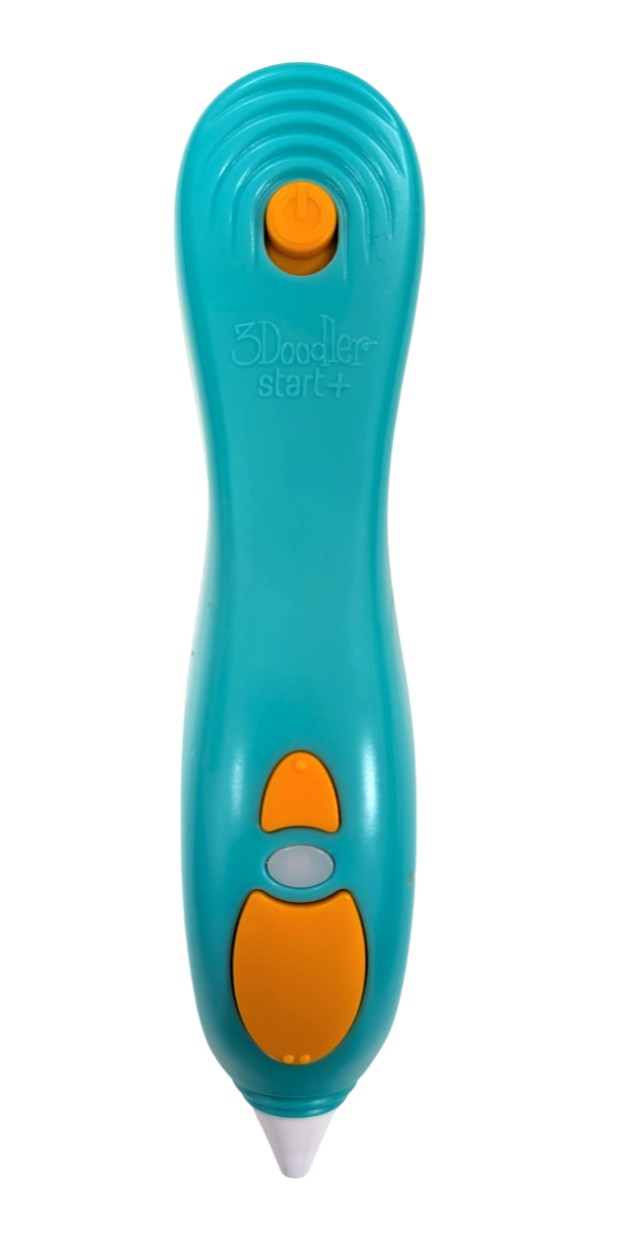 Charging port on the top
Getting Started with your 3Doodler Start+ #
Not sure where to begin with your new 3Doodler Start+ pen? You’ve come to the right place! Let’s get started with a few of the basics. We’ll help get you Doodling like a pro in no time.
Basics #
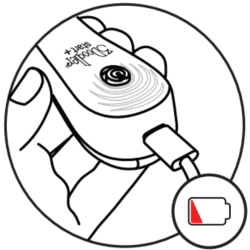
USB-C Port #
Plug in and recharge quickly and easily.
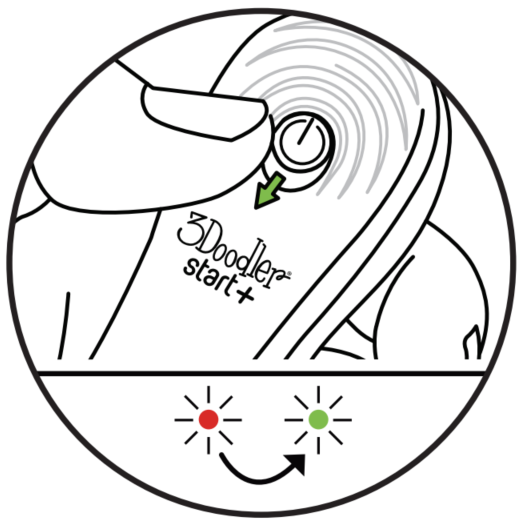
On / Off Switch #
Slide this switch to turn it on. Allow 30 seconds for the pen to warm up. Out of power? Charge it up!
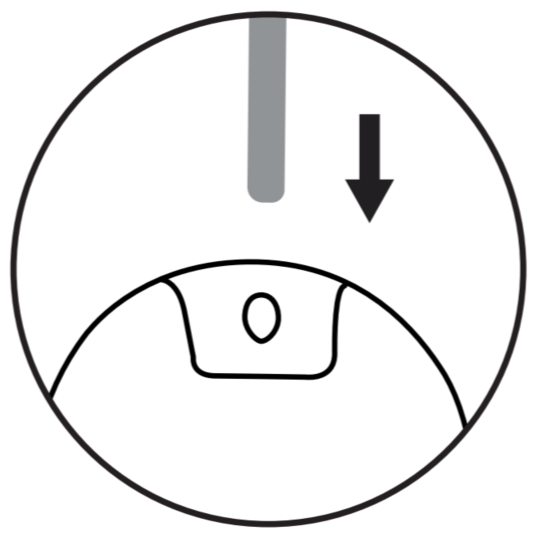
Insert a Strand #
Click to start, then insert the strand until you feel it grip.
The Buttons #
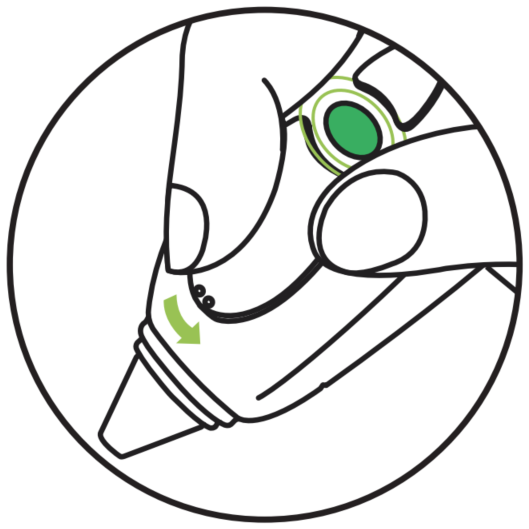
Click to Start, Click to Stop #
Click the forward button once to start your pen — the LED will slowly flash green. Click again to stop, and the LED will turn solid green. When inserting a fresh strand, it can take a few seconds to extrude from the nozzle.
Jammed Filament #
First try gently pushing your filament into the feed port to ensure it engages with the gears and gets gripped properly. If the strand inside the pen is not long enough to grip or push by hand, use another filament strand to gently push the first strand down and into the gear system.
Still Struggling? #
Don’t worry, our support team is here to ensure you’re Doodling as soon as possible. Please reach out to us here and let us know what’s going on.
LED Status Lights #
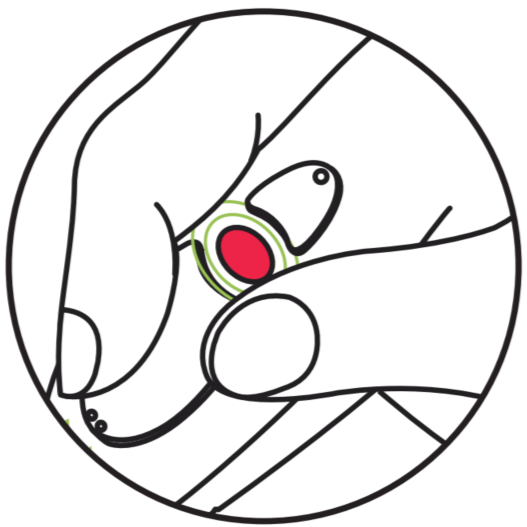
The Three Colors #
Red means the 3Doodler is warming up, green indicates it’s ready to Doodle, and orange signals the pen is charging.
Doodling Tips #
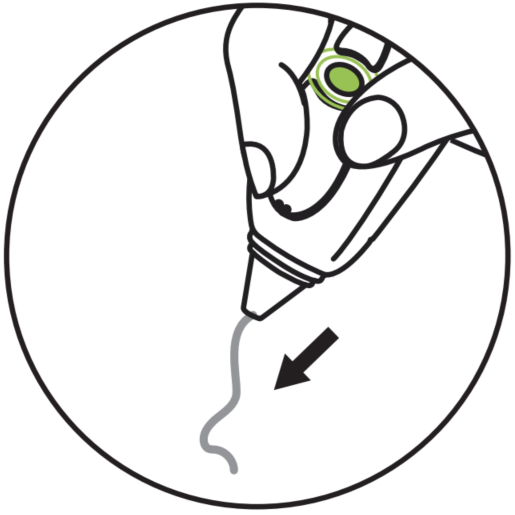
Extruding Filament #
Our Eco-Filament extrudes from the nozzle and hardens in a few seconds, giving you time to shape your Doodles to perfection.
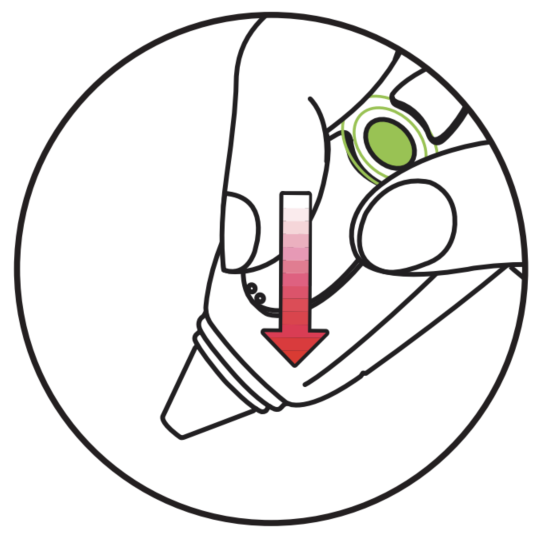
Anchoring #
If the filament won’t stick to paper or goes off in random directions, push the nozzle firmly onto the paper and allow the filament to extrude for a couple of seconds, then lift the nozzle. We call this anchoring.
Tips #
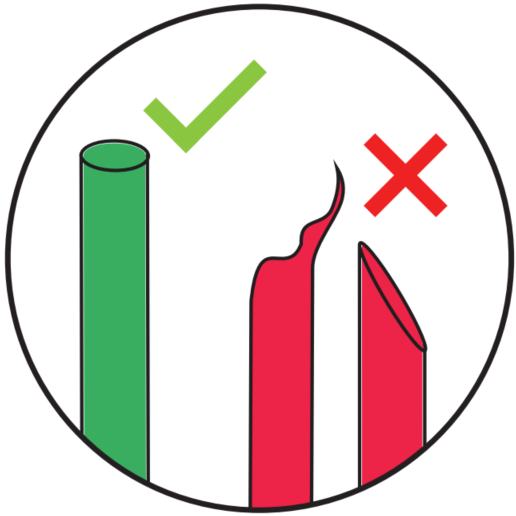
Snipping Ends #
Ensure the filament is cut correctly before inserting it into the pen.
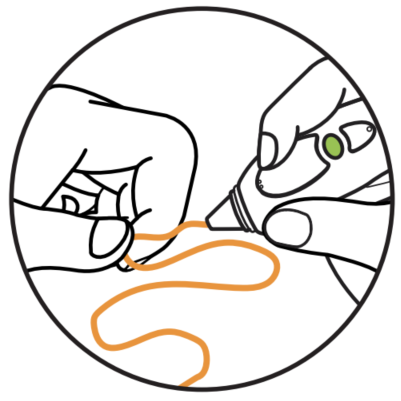
Shape Your Doodles #
Wait a few seconds after the filament comes out of the nozzle, then mold and shape your Doodles before they harden.
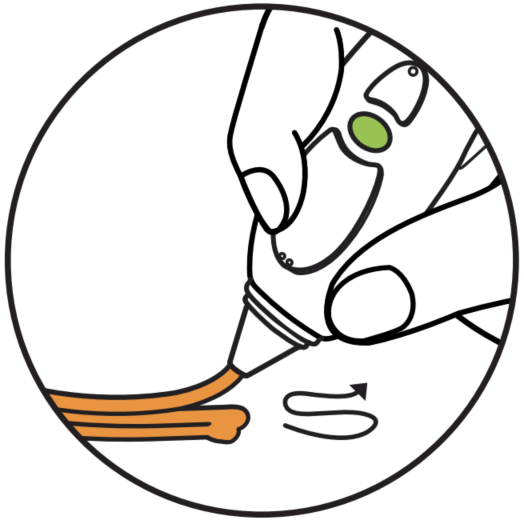
Try Layering #
Want to strengthen your Doodles? Try layering. The more filament you add, the stronger your Doodles will be.