Not sure where to begin with your new Create+ pen? You’ve come to the right place. Let’s get started with a few of the basics. By the end you’ll not only be Doodling, but Doodling well.
Basics #

Plug in Your 3Doodler #
Ensure you select your temperature to ABS/FLX for ABS and FLEXY filament or PLA for PLA or WOOD filament.
Press Fast/Slow & Insert a Strand #
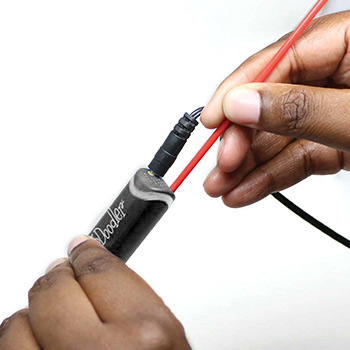
Press either button to put your pen in drive mode, then insert a strand of filament into the back of the pen. Push gently to ensure it engages with the gears and grips properly.

Ready, Set, Doodle #
It may take a few seconds for your filament to extrude.
The Buttons #

Fast / Slow Button #
Single click either Fast or Slow button to start a continuous flow of filament. Click either button once to stop the continuous flow.

Reverse Feature #
Double click either button to reverse the strand. The pen will pulse, which helps it reverse properly. If the strand is too short, carefully remove the nozzle and use the unblocking tool to push it out.
Feeding Strands #
First try pushing your filament gently into the pen to ensure it engages with the gears. If the strand inside the pen is not long enough to grip or push by hand, use another filament strand or the unblocking tool to push it into the gear system.
Jammed Filament #

Using the Included Screwdriver #
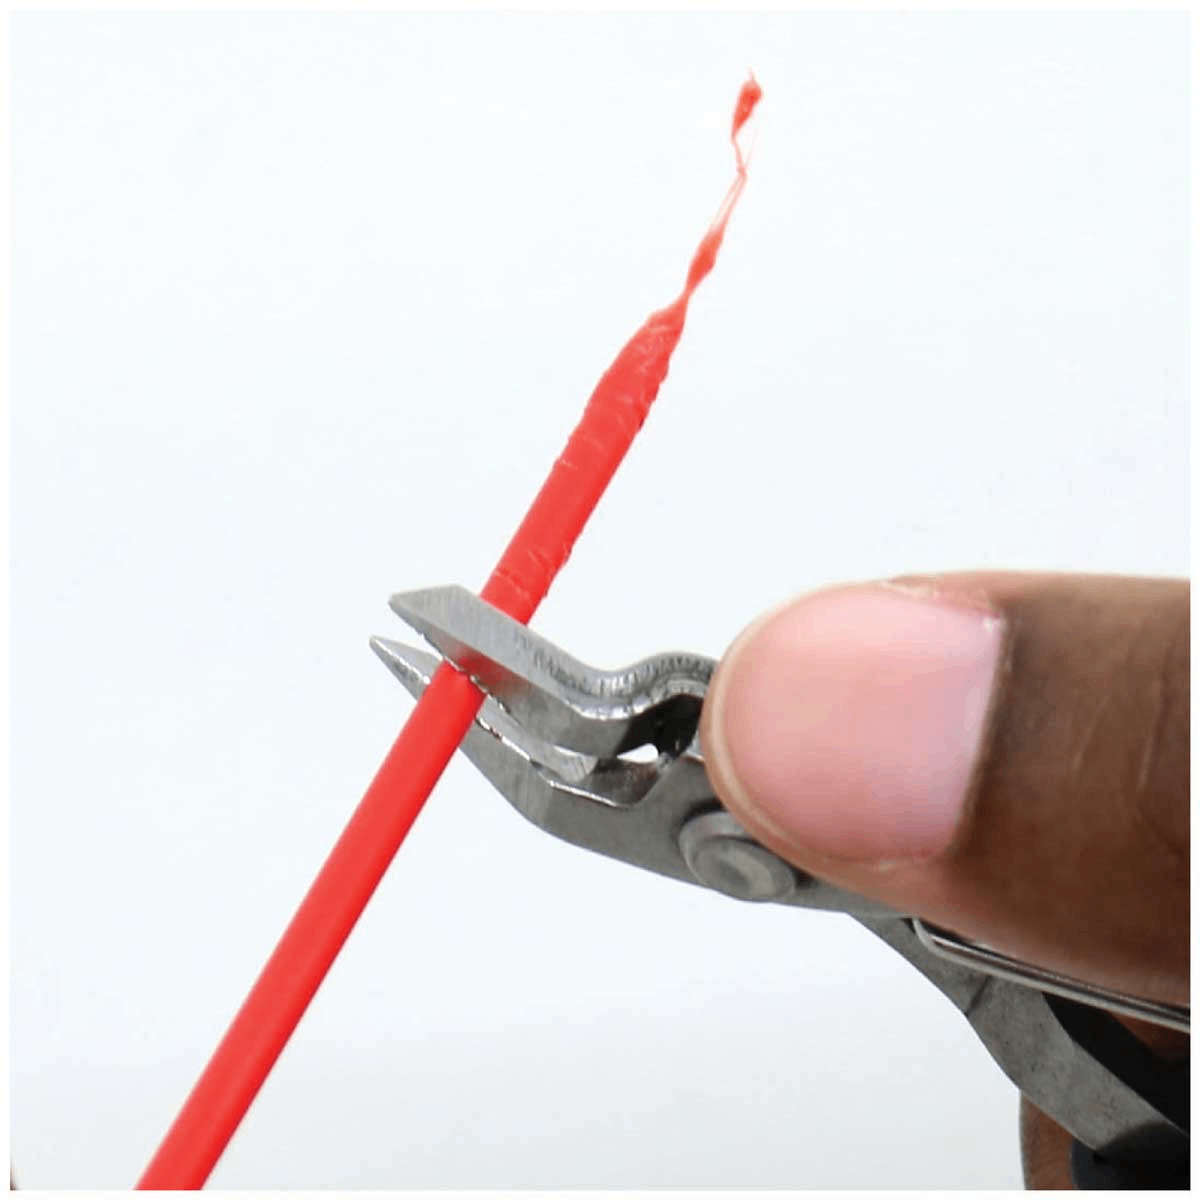
Though uncommon, filament can become jammed (often due to unsnipped filament ends). While the maintenance cover should only be opened when absolutely necessary, following the instructions in the manual will keep you safe.
A Few Reminders #
Follow the step-by-step user manual at all times.
Never force anything into place.
Ensure there is no filament inside the pen when replacing the maintenance cover.
Align tabs carefully when reattaching the cover.
Still Struggling? #
Don’t worry, our support team is here to help. Please reach out to us here.
Pressing on Surface #
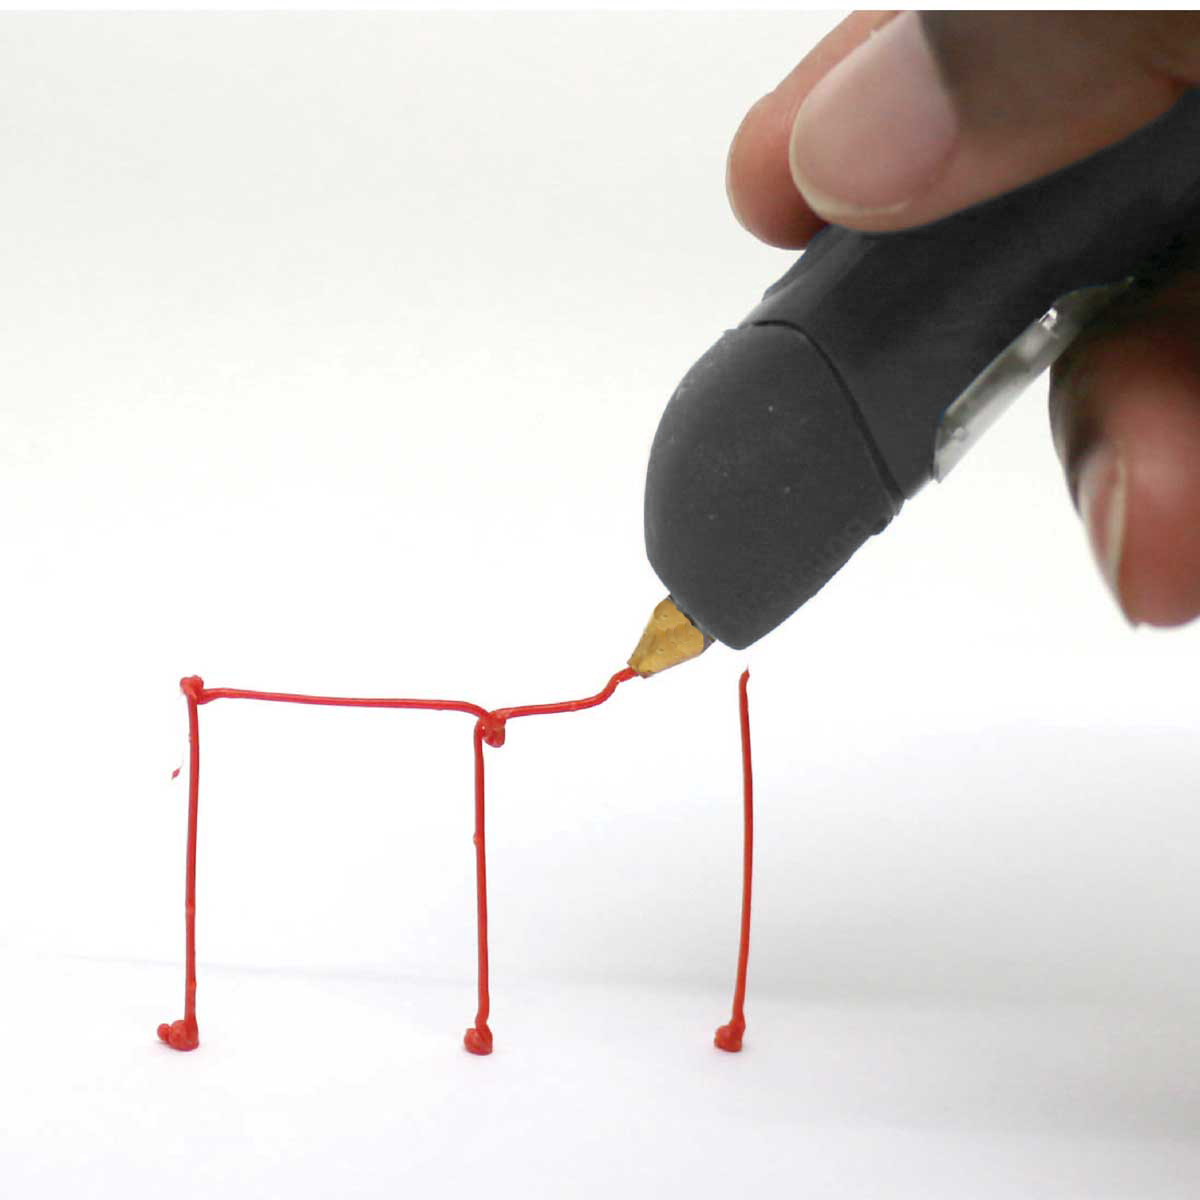
If filament won’t hold to paper or moves unpredictably, push the nozzle firmly onto the paper and allow filament to extrude for a couple of seconds, then lift the nozzle. The extra pressure helps the filament stick. We call this “anchoring.”
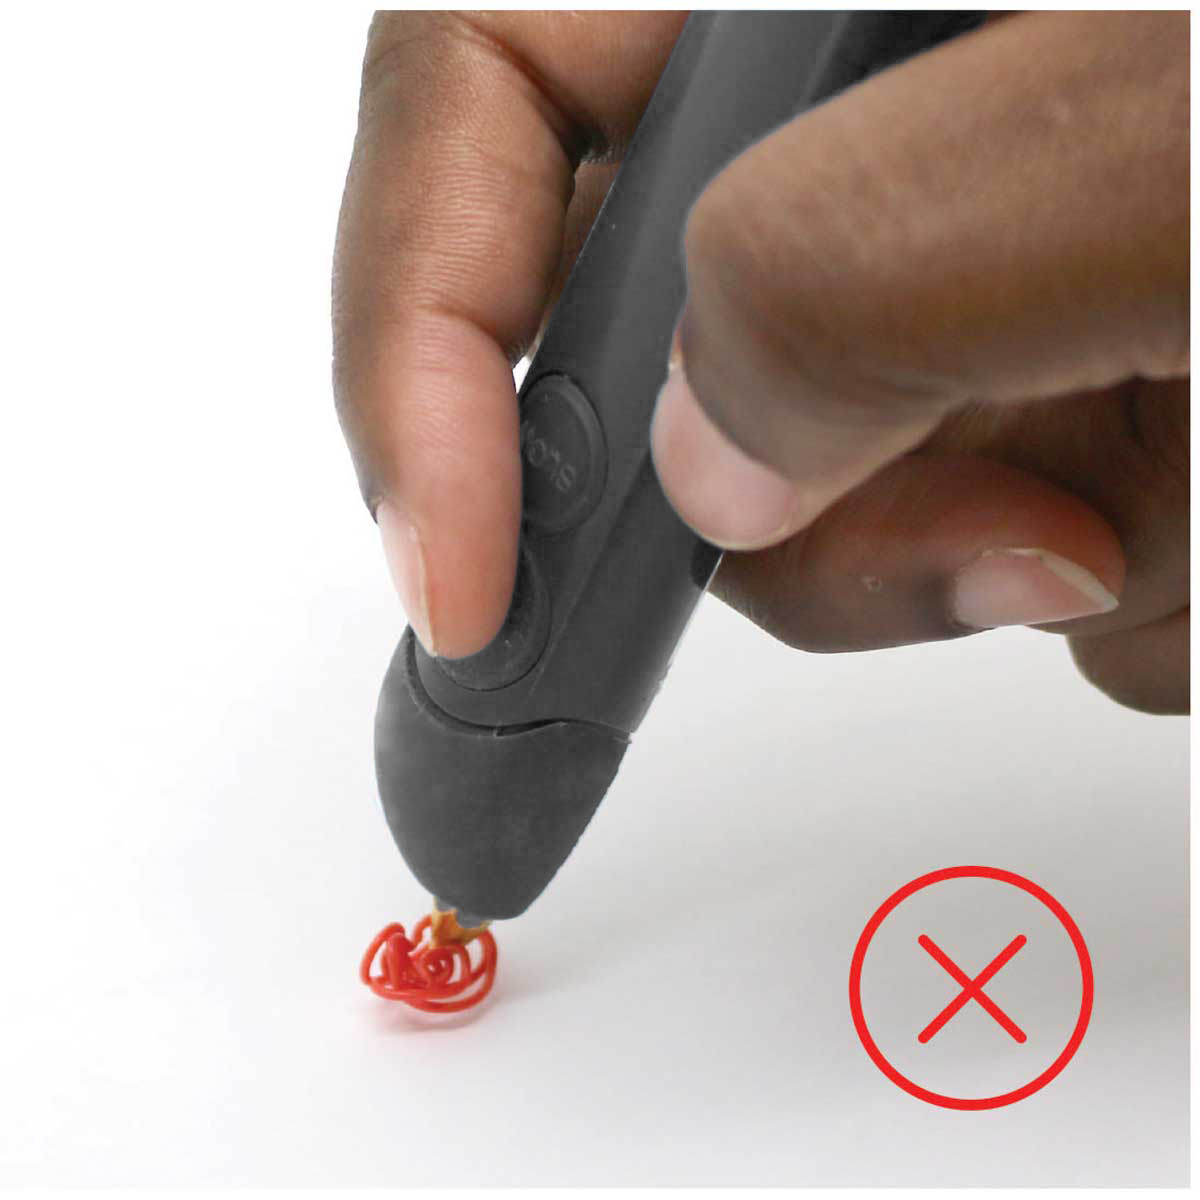
Incorrect #
Filament bunches when not properly anchored to the surface.

Correct #
Press the nozzle firmly onto the surface and hold briefly before lifting.
Nozzle Removal #
Use the nozzle removal tool to gently unscrew the nozzle counter-clockwise while the pen is turned on and fully heated. Do not over-tighten the nozzle and keep the tool centered to avoid damaging the threads.

Step 1 #
Position the nozzle removal tool around the nozzle base.

Step 2 #
Gently unscrew counter-clockwise until the nozzle is free.